
The tools behindthe transformation.
Professional wrapping is a hands-on craft. The material matters, but so do the tools, the technique, the preparation and the experience behind the installation.
Material. Tools. Technique.
Material
What goes on the vehicle3M™ and Avery Dennison™ automotive films, chosen per project.
Tools
What the professional uses to install itKnifeless tape, squeegees, heat equipment, trimming tools, preparation supplies, inspection lighting.
Technique
How the material becomes the finished resultKnowing which tool, where, when — and when to leave it alone.
Three worth explaining.
Knifeless tape
Clean cuts. Controlled technique.
How it works
A filament-based cutting system positioned beneath the vinyl before the film goes on. The installer pulls the filament through to cut the film, instead of running a blade across the vehicle’s surface in that location.
- Positioned beneath the film
- Controlled filament cut
- Clean design line
It is not used for every cut, and it does not eliminate cutting risk. Whether it is the right method depends on the vehicle, the film, the design, the location and the installation requirements.
Squeegee & technique
The tool is simple. The technique is the craft.
How it works
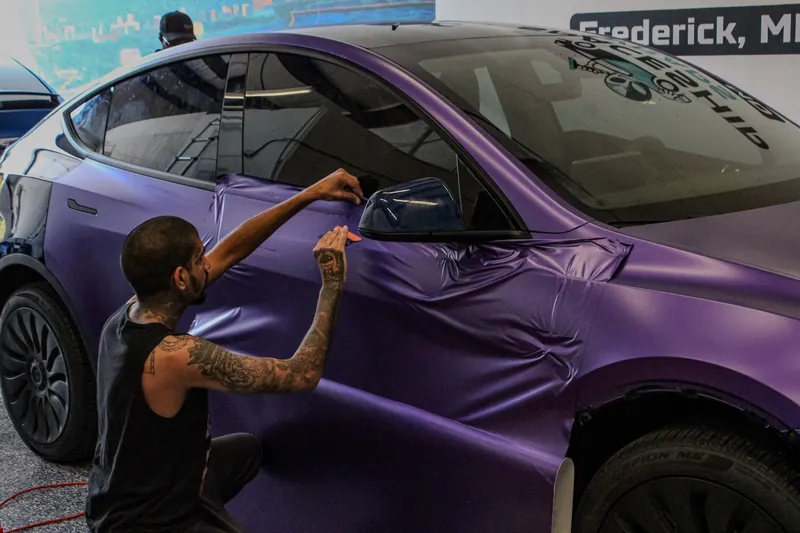
A squeegee helps the installer position the film, work it across the surface, control how it lays down and reduce unwanted imperfections.
- Position the film
- Work across the surface
- Control the lay-down
No tool guarantees a defect-free installation. The squeegee is doing what the hand behind it tells it to.
Controlled heat
Heat is a tool.
How it works
Professional heat equipment is used during installation and finishing to help the film behave, according to the material manufacturer’s requirements and the installer’s technique.
- Work the film
- Set the contour
- Post-heat the finished area
Different films have different requirements, so there is no single temperature that applies to all of them. We won’t publish operating instructions here — heat in the wrong hands is how panels get damaged.
What’s actually on the bench.
Precision cutting
- Knifeless tape
- Precision trimming tools
- Professional vinyl knives where appropriate
- Blades designed for controlled vinyl trimming
Application
- Squeegees
- Felt-edge squeegees
- Application cards
- Wrap gloves
- Magnets where appropriate
- Positioning tools
Heat & finishing
- Professional heat gun
- Heat-management tools
- Infrared thermometer where appropriate
- Finishing tools
Surface preparation
- Cleaning supplies
- Surface-preparation products
- Microfiber towels
- Appropriate cleaning tools
Detailing & finishing
- Edge tools
- Trim tools
- Fine-detail tools
- Inspection lighting
Trimming without a blade on your car
Most of our cuts are made with 3M™ Knifeless™ Tape, and it is worth understanding because it answers the question every customer is really asking: is someone taking a blade to my paint?
No blade reaches your paint — the three steps, and why it cuts cleaner
- 01The tape goes down first, along the exact line we want the cut to fall on — the edge of a panel, a body line, the boundary with the next section of film.
- 02The vinyl is laid over the top of it and squeegeed down as normal, so the tape is now underneath the film.
- 03We pull the filament up through the film. It slices the vinyl along that line and nothing else.
No blade ever reaches the panel, so there is nothing that can score your paint or cut into the film underneath on a two-layer job. It also gives a cleaner line than a blade does freehand, because the line was decided before the film went on rather than during.
Where a blade genuinely is the right tool we use one — but away from the paint, and by choice rather than by default. Knowing which cut needs which is most of the skill.
Before the vinyl
The condition of the surface decides how the film behaves and how long it stays behaved.
- Cleaning
- Contaminant removal
- Surface inspection
- Appropriate preparation products
- Microfiber materials
- Detail tools
What a given vehicle needs depends on the condition it arrives in. We won’t publish product formulas or chemical instructions here.
Then we look closer.
Inspection lighting, close photography and a deliberate pass over the finished vehicle.
On most projects the installer and the reviewer are the same small team — we won’t imply a separate inspection department we don’t have. What matters is that the pass happens deliberately, against a checklist, before the vehicle goes back.
The workbench
Nothing exotic. The right tools, the right materials, and the experience to know which to reach for.
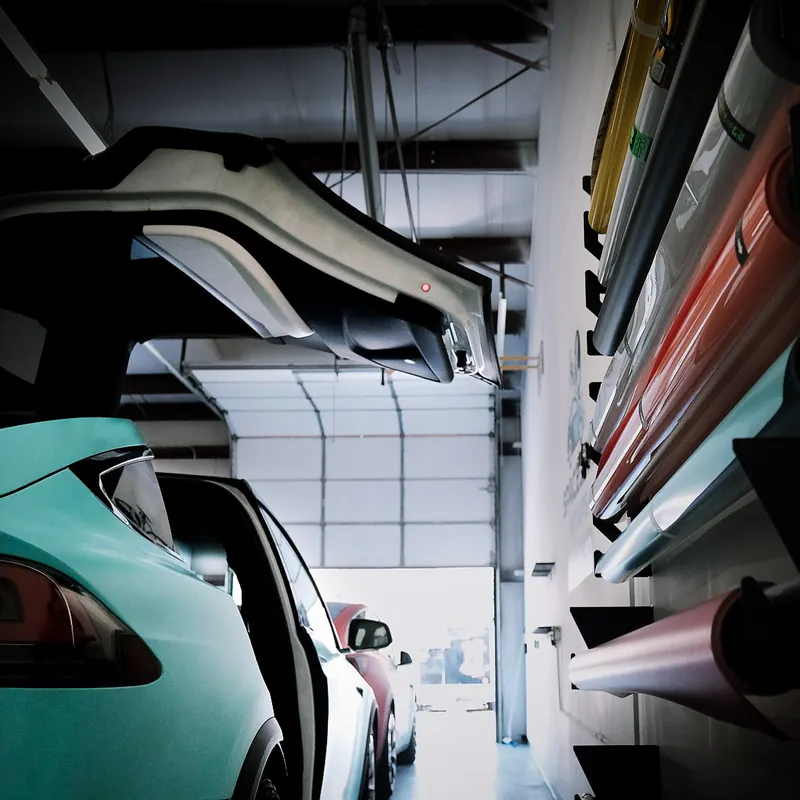
What we bring into your garage.
Mobile installation means handing over your garage for two to three days. This is what comes into it — hand tools, heat, lighting and preparation supplies. No compressors, no spray equipment, no open flame, and nothing that stays behind when we leave.
Cutting and application
What is in it
Felt-edge, suede and wool squeegees — different faces for different films, because a wool edge that is safe on gloss will mark satin. Magnet-backed squeegees to hold a panel in position while the film is set. Micro squeegees and tuck tools for recesses, trim and door handles. Snap-off blades changed constantly rather than sharpened, a concealed-blade vinyl cutter for trimming at the car, and wrap gloves so nothing on a hand touches the adhesive. Knifeless tape does the cuts that happen on painted surfaces.
Heat
What is in it
A professional heat gun with interchangeable nozzles — a wide nozzle to bring a whole panel up evenly, a concentrator for a recess — and an infrared thermometer to read the panel rather than guess at it. Heat is what makes film form and what sets it: post-heating stretched recesses is the step that stops an edge lifting in month four, and it is the step most often skipped because nothing looks wrong on the day it is missed. It runs off a standard household outlet.
Preparation
What is in it
Cleaning and surface-preparation supplies and clean microfiber. No primer — we do not use adhesion promoter to make up for preparation that was not done, because that is what makes a wrap hard to remove years later.
Lighting
What is in it
Portable inspection lighting. Garage lighting is not built for finding a lifted edge, and we would rather find one than have you find it in daylight a week later.
What we need from you
- A standard household outlet we can reach — the heat gun and lighting run off ordinary power, and we bring our own extension leads
- The garage held in the film’s working range, around 70°F, before we arrive and throughout
- Three to five feet clear on every side of the car
- The garage door closed while we work — dust and pollen are the enemy of a clean install
What we are not bringing
- No paint booth, no compressor and no spray equipment — nothing is sprayed on your car
- No open flame and nothing that burns fuel
- No lift and nothing that touches your garage floor beyond a mat and our own feet
- Nothing stays behind — the kit leaves with us at the end of the project
Can I see the kit before I commit?
Everything above fits in a van and sets up in under an hour. If you want to see it before you commit, ask when you text and we will send photographs of the actual kit rather than a stock photograph.
The tool is only half the story.
Professional tools don’t replace experience. Knowing when to use a tool, where to use it, and when not to use it is the part that takes years.