How we wrap your Tesla.Every step matters.
A professional wrap isn’t simply putting vinyl on a car. It’s a controlled process: documentation, preparation, precision installation, finishing, inspection and delivery.
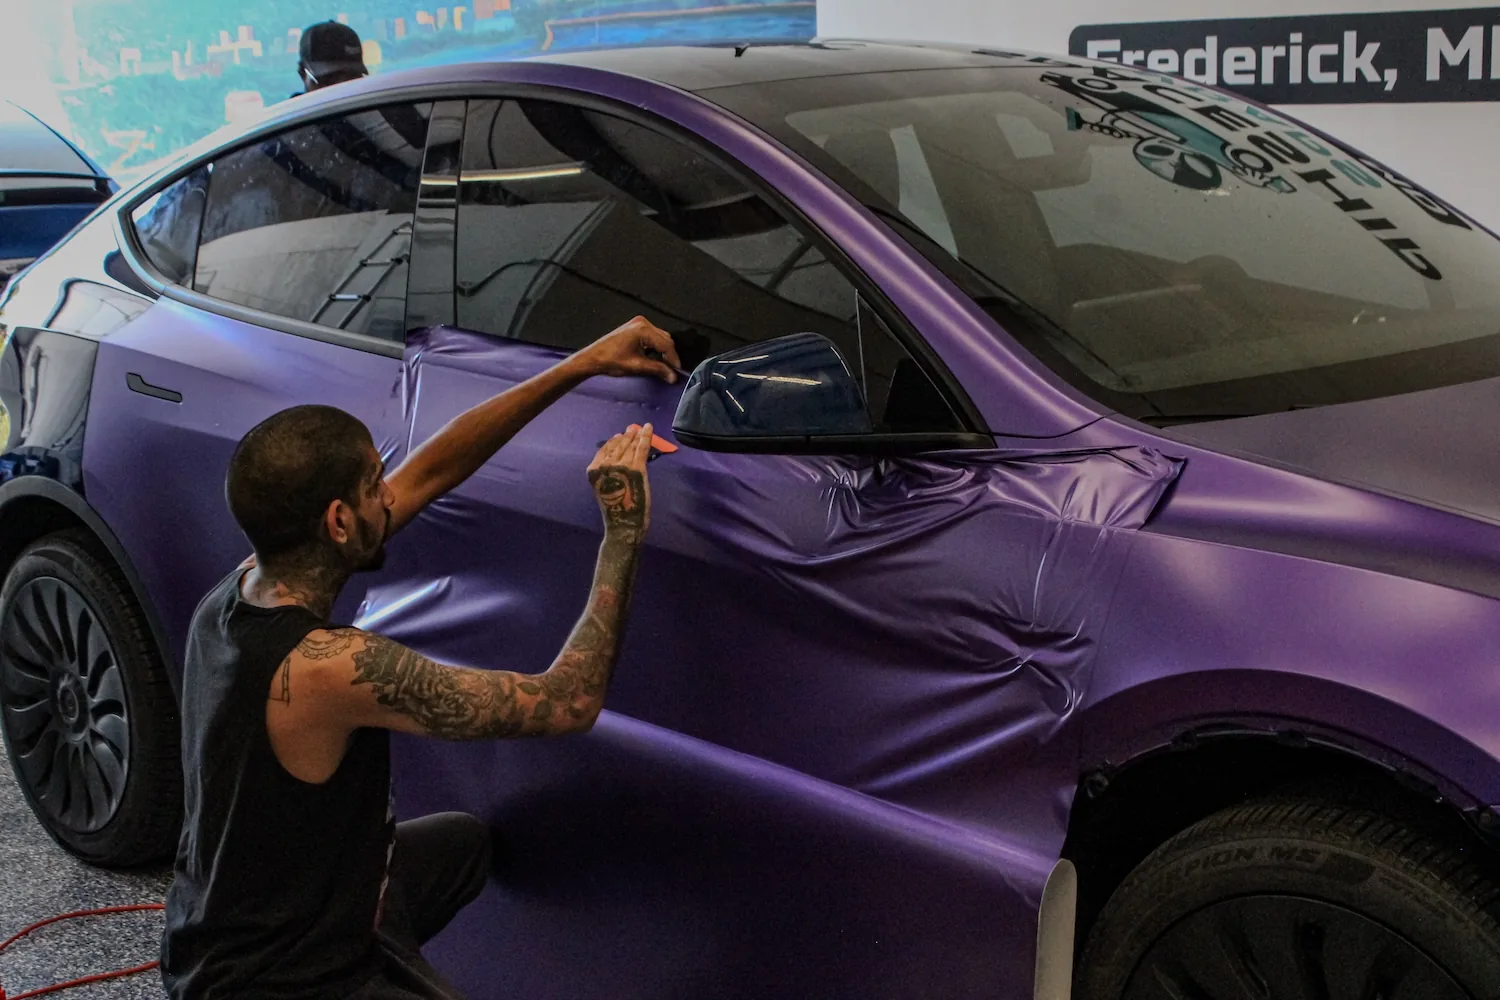
Panel by panel.
Every stage below happens with the car alone in the bay.
Precision installation.One project at a time.
We take the liner off the film, lay it onto the panel, then stretch and work it outward toward all sides — controlled placement, then finishing. Panel by panel, by hand.
Remove → Lay → Stretch → Finish
The six stages of one panel, in pictures
 01PrepThe panel is cleaned and prepared. Film only behaves as well as the surface underneath it.
- 02Remove linerThe adhesive liner comes off the film, exposing the adhesive face.
 03Lay filmThe film is positioned and laid onto the panel.
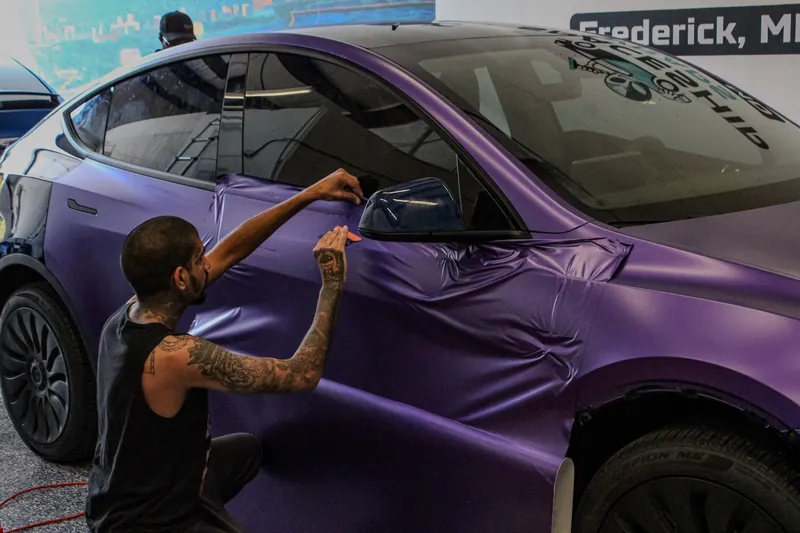 04Stretch outwardThe 10 & 2 approach — working the film outward from the anchored area toward all sides of the panel, managing tension and position as it goes.
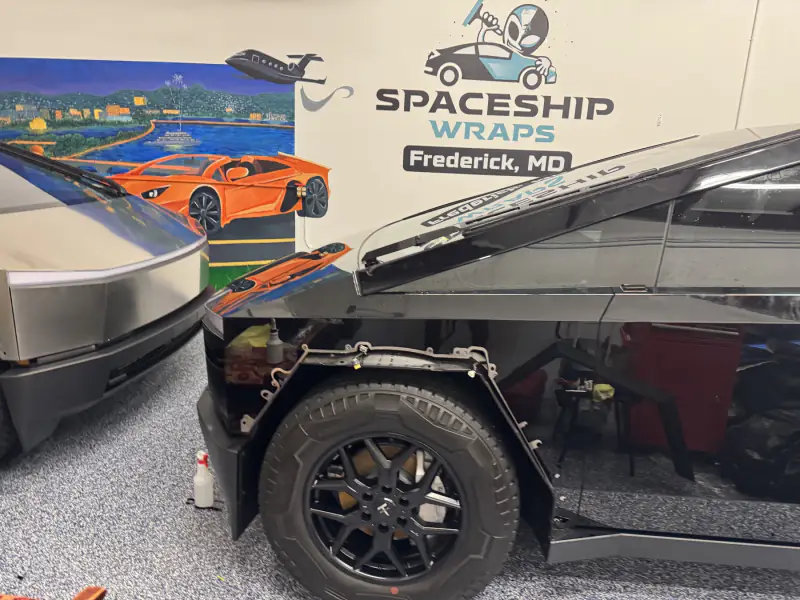 05FinishContours, edges, corners and trim areas are worked and finished.
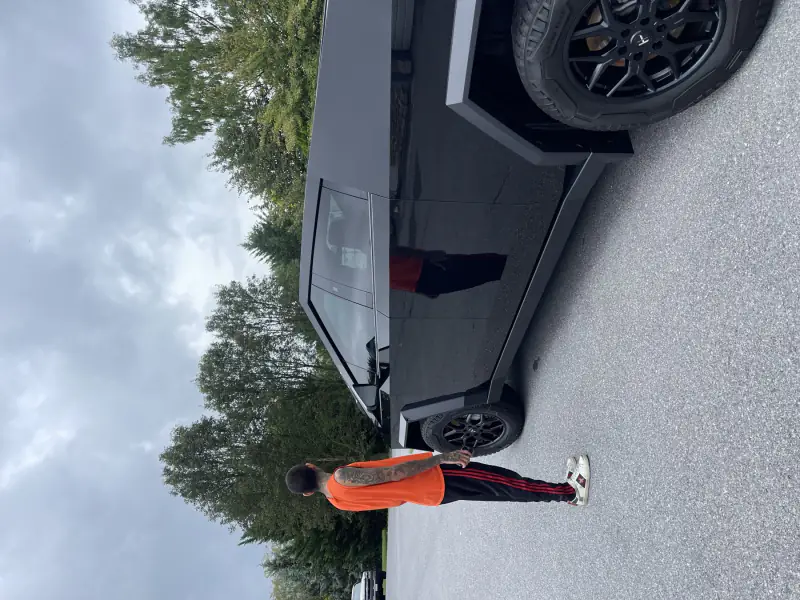 06InspectThe panel is checked for alignment, finish, edges and seams before we move to the next one.
The 10 & 2 method
A hand and body position that keeps the squeegee under control as it crosses a panel — angle, pressure and stroke staying consistent instead of drifting as the reach gets longer. It is named for where the hands sit, the way ten-and-two describes hands on a wheel.
That is our own technique and how we describe it. We are not calling it an industry standard, a certification or a guarantee — it is how this shop works a panel.
Final inspection
Every completed Tesla is inspected before handoff.
- Film alignment and panel coverage
- Edges and corners
- Seams and overlaps
- Bubbles and visible imperfections
- Wrinkles and areas of excessive tension
- Adhesion and potential lifting
- Panel transitions and overall appearance
Where anything needs it, final adjustments are made before the car goes back to you. We inspect the finished Tesla panel by panel rather than calling it done and moving to the next vehicle — and if it does not pass, it does not go out as finished.
Seven stages.
01Vehicle intake
First, we get to know the vehicle.
We don’t treat every vehicle as identical, because they aren’t. Before anything is ordered or scheduled we build a picture of the specific car and the specific project.
- Tesla model and model year
- Current color and finish
- Vehicle condition
- Existing modifications
- Existing damage
- Previous repairs, where disclosed
- Desired wrap, material, finish and design
- Project scope
Recorded in: Vehicle Intake
02Condition documentation
Before we transform it, we document where we started.
Your vehicle is photographed and its condition recorded before any work begins, and you review that record. It protects you and it protects us.
- Vehicle photographed
- Existing condition documented
- Visible damage identified
- Areas needing special attention recorded
- Any planned component removal noted
- Customer reviews and acknowledges the condition record
Documentation is a record of what we both saw at intake. We won’t claim it forecloses every possible disagreement — only that neither of us is guessing.
Recorded in: Vehicle Intake & Condition Documentation
03Preparation
Preparation is part of the install.
Film only behaves as well as the surface underneath it. What preparation a vehicle needs depends on what condition it arrives in.
- Cleaning
- Surface preparation
- Contaminant removal
- Inspection
- Identifying difficult areas
- Reviewing edges and contours
- Confirming material and approved scope
Not every vehicle receives identical preparation. It depends on actual condition and project requirements.
04Installation
Now the transformation begins.
Vinyl is not stuck onto a car. The film comes off the roll and is cut to shape against that panel’s pattern from the vehicle’s template kit — never trimmed freehand against your paintwork — the backing paper comes off, and the film is laid on and squeegeed down so the air works out from underneath rather than getting trapped under it. Then it is worked into the contours, trimmed and finished. Panel by panel, by hand.
A single panel takes anywhere from 20 minutes to two hours. A flat door is at the short end; a bumper with compound curves, or a recess the film has to be stretched into and held, is at the long one. That spread is why we quote a vehicle rather than a price per panel.
- Professional automotive vinyl
- Precision positioning
- Appropriate hand tools
- Professional heat equipment
- Controlled application
- Careful trimming
- Edge finishing
- Seam management
- Contour management
Recorded in: Installation
05Finishing
Installation isn’t finished when the film is on. It’s finished when the details are right.
The finishing pass is where an install either holds up or doesn’t — the edges, the corners, the places a hand goes every day. It runs in a set order: trim the excess, work each edge to the fitting it meets, then post-heat. Where a panel gap or a trim lip gives the film somewhere to go, the edge is tucked into it with a tuck tool and heat-set so no original color shows; where a fitting sits flush with no gap to tuck into, the film is cut to that panel’s pattern and finished around it. Neither one takes anything off the car — a tuck tool works into a gap that is already there. Post-heating is the step people skip, and it is the one that stops the film lifting later — vinyl stretched into a recess wants to pull back, and heat is what resets it so it stays where it was put.
- Edges and seams
- Corners
- Handles
- Mirrors
- Bumpers
- Curves and complex contours
- Trim areas
- Panel transitions
- Post-heating
- Final trimming
06Quality control
Before you get the keys back, we inspect the work.
Inspection is a stage of the project, not a favor. If it doesn’t pass, the vehicle doesn’t leave as finished.
- Film reviewed against the checklist below
- Vehicle condition reviewed against the intake record
- Scope confirmed complete
- Exceptions documented
This is a visual and functional inspection of our work. It is not a comprehensive mechanical or electronic diagnostic, and we won’t describe it as one.
Recorded in: Quality Management System
07Customer delivery
Then we show you the finished transformation.
We walk the vehicle with you, against the record we made at intake, and you tell us whether it’s right.
- Final walk-through
- Completed scope reviewed
- Vehicle condition reviewed
- Customer acceptance recorded
- Payment status confirmed
- Project completion workflow begins
Recorded in: Customer Experience
One vehicle.One install.All our attention.
We treat a vehicle as a complete project rather than another car in a queue. That is how the work is scheduled and how the studio runs.
Right vehicle. Right project. Right material.
Before installation starts we confirm what is about to go on the car — against the project, not against memory.
What we confirm, and when the choice locks
- Vehicle
- Project
- Film brand
- Film product
- Color
- Finish
- Approved scope
Material ordered — material selection locked.
Once your material is ordered, the selection is locked for the project. A change after that is not impossible, it is just a new purchase: the film already bought for your car stays bought, you approve the replacement and its cost in writing, and we keep the record of who approved what. There is no version where a locked selection changes quietly.
If the material doesn’t match the project, we stop, document it and escalate it. We don’t substitute silently.
Colors and finishes look different on different screens. Final material availability and appearance are confirmed during project review.
Nothing comes off your car.
No surprise disassembly.
Nothing comes off your car. Film is cut to each panel’s pattern, and every edge is worked to whatever it meets: where a panel gap or a trim lip gives the film somewhere to go, it is tucked into that gap with a tuck tool and heat-set so no original color shows; where a fitting sits flush with no gap to work into, the film is cut to the pattern and finished around it. Handles, trim, lights and badges stay where they are in both cases — a tuck tool goes into a gap that is already there. If a specific project ever did require something to be loosened, you would hear it from us first and you could say no.
This has not been part of a standard installation. It is written down for the rare vehicle that presents something unusual: a component may occasionally need to be removed or loosened if that is genuinely the right call for your car, and you would be asked first. Where it happened, it could involve:
Which components that could mean
- Exterior trim
- Badges and emblems
- Certain removable moldings
- Handles or handle components, where appropriate
- Mirrors or mirror components, where appropriate
- Exterior lights or components, where appropriate
- Cameras or camera-related trim, where appropriate
- Sensors or sensor-related trim, where appropriate
- Other removable exterior components
This is not a list of what happens to every vehicle. The actual approach depends on the model, year, configuration, existing condition, wrap design, film, installation requirements, access, safety and professional judgment.
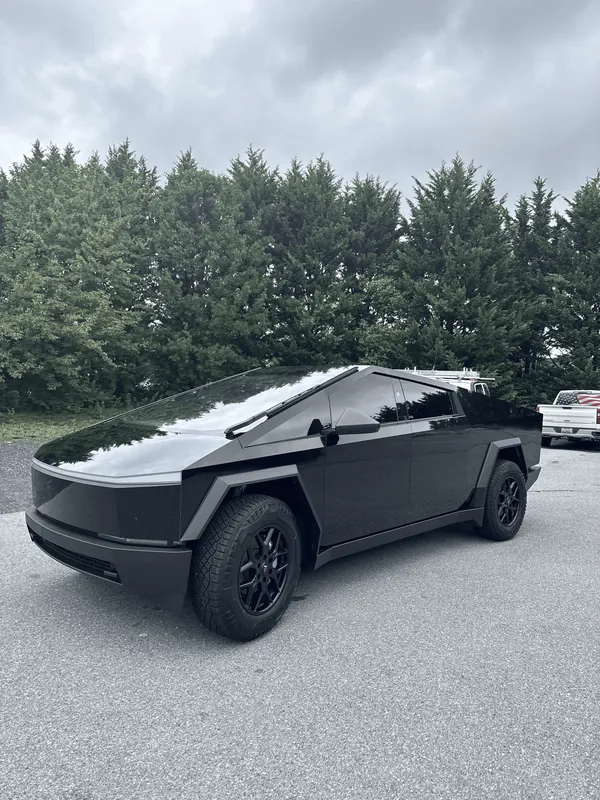
Teslas aren’t all the same.
Model to model, the panels, contours, trim and access are genuinely different — which is why the approach is decided per vehicle rather than applied from a template.
What differs between the models
- Body geometry
- Panel shapes
- Contours
- Trim
- Cameras
- Sensors
- Handles
- Mirrors
- Surface condition
- Installation access
Before you get the keys back, we inspect the work.
This is a visual and functional inspection of our own work — not a comprehensive mechanical or electronic diagnostic.
If something isn’t right, the vehicle doesn’t go out.
A significant issue found at inspection puts the project on quality hold. It is corrected and reinspected before delivery — a deadline is not a reason to hand back work we wouldn’t accept ourselves.
What the hold looks like in practice
- Quality hold
- Correct
- Reinspect
- Customer delivery
If a warning indicator or technical issue appears, we stop, document it, and escalate it for review — and refer it to an appropriately qualified provider when that is the right answer.
Before, during, after.
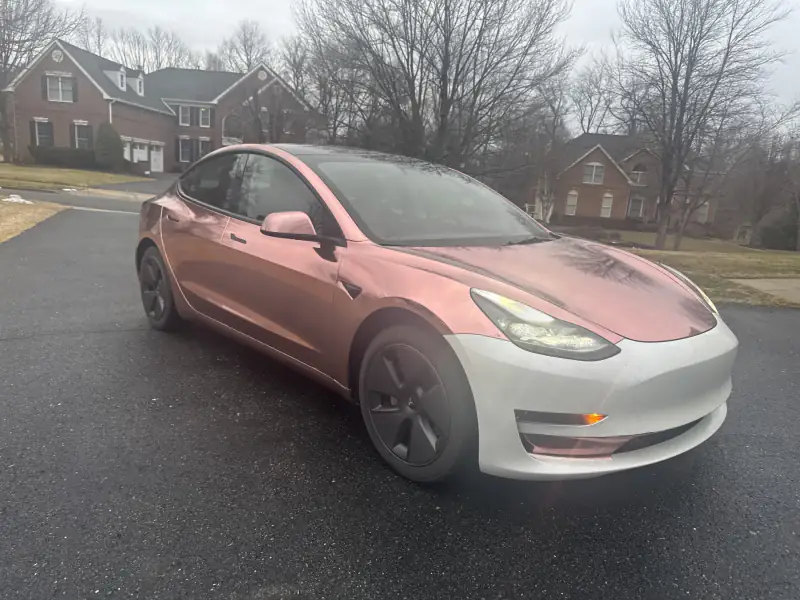
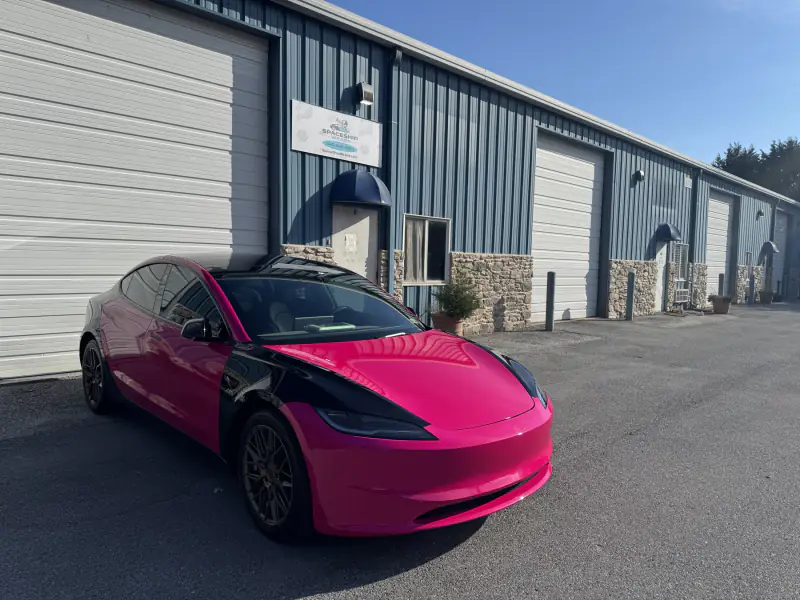
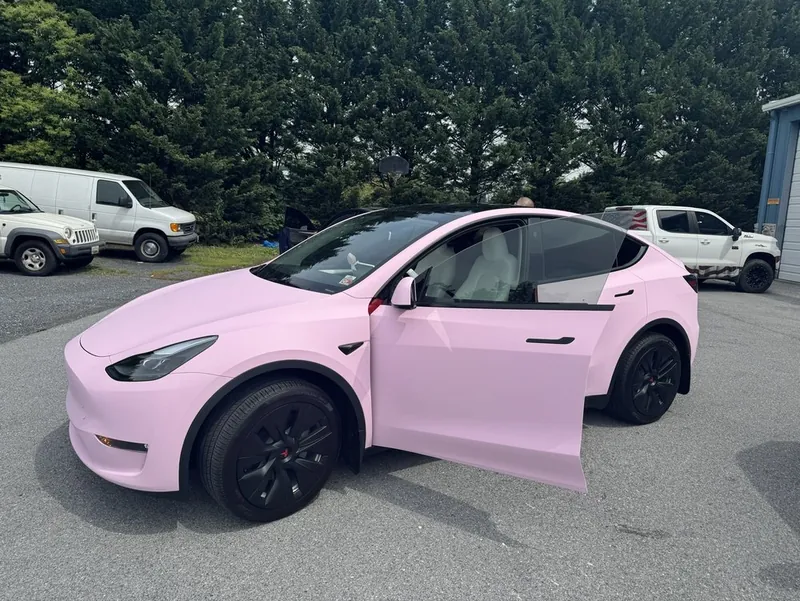
The closest we have is a Model X caught halfway through a rose gold chrome wrap — doors done, rear quarter still its own factory white, same car and same light in one frame. A proper three-stage set of a single vehicle is not something we have shot yet, and it gets shot properly or not at all. Pairing two different cars and calling it a before-and-after would be exactly the kind of proof we tell customers to distrust.
We’d rather show you nothing than show you someone else’s work, or a rendering, and call it ours.
Your car, while it’s with us.
You’re leaving a car worth more than most people’s first house with someone you met on the internet. Here is exactly what that looks like from our side.
How the car is held, watched and documented
- Gated property
- The site is fenced and gated. Your vehicle is not sitting on an open forecourt.
- Cameras inside
- The installation area is camera-monitored — the same footage that protects you protects us.
- Cameras outside
- Exterior coverage of the property and approach.
- Indoors
- The work happens inside. Vehicles aren’t stored outside as part of normal operations.
You hear from us at every step.
We text you as the project moves — arrival, installation started, into finishing and quality control, ready for collection. You should never have to ask where your car is.
Texts, not a portal you have to remember to log into.
And it’s documented from the start.
Your vehicle is photographed and its condition recorded before any work begins, and you review that record. At handover we walk the car against it, in daylight. That protects you and it protects us — which is why we do it rather than promise it.
Cameras and a gate are security measures. They deter, and they record what happened — they are not an insurance policy, and we do not carry one on your vehicle. TeslaWrapper does not currently hold a commercial garage-keepers policy covering damage to a customer car in our care, so your own insurance is the coverage that applies while the car is here.
That is worth a call to your insurer before you leave a car anywhere, ours included. What we can tell you is what we do instead: the condition is photographed and reviewed with you before any work starts, the car is kept indoors on a gated, camera-monitored site, and we walk it with you in daylight against that record before you take it. Those things document what happened. They do not pay for anything, and we are not going to pretend otherwise.
How long does it take?
Most projects run two to three days with the car; a larger one can run to seven, and booking is typically 4–8 weeks out — those are two different numbers and people mix them up. Neither is a promise for your car: you get a requested date, a confirmed date and an estimated duration for your specific vehicle.
- Requested date
- Confirmed date
- Estimated duration
Duration depends on: tesla model, vehicle condition, material, scope, design, preparation, installation complexity, finishing, quality control.
Where your project is.
The nine stages, and what we message
- Project review
- Agreement
- Deposit
- Material ordered
- Material locked
- Scheduled
- Installation
- Quality control
- Ready for delivery
Your payment status is tracked separately — a project can be paid in full and still be at “Scheduled”.
You’ll hear from us at the points that matter.
Short updates at real milestones — not a notification for every touch of the car.
- Your project is reviewed and your material is ordered.
- Here is the supplier order number for your film.
- Here is the tracking, now that it exists.
- Your installation date is confirmed.
- Your vehicle has arrived.
- Installation has begun.
- Your vehicle is in finishing and quality control.
- Your vehicle is ready for delivery.
The first four happen in the weeks before your car ever comes in — the order confirmation lands within one to three business days of your deposit. If you have paid a deposit and heard nothing in five business days, text us. That is not impatience, it means something went wrong at our end.
At our studio.
Ashburn, Northern Virginia. Private and appointment-only — no walk-ins, no public address, and access details are shared once your project is confirmed.
Or in your garage.
We install at qualifying homes. The garage has to be fully enclosed, held in the film’s working range around 70°F, with three to five feet clear on every side of the car. That is a band, not a floor: heat it in January, cool it in a Florida August.
We don’t try to be everything.
We’re not painting your Tesla — we’re transforming its surface with film. And we don’t provide standard mechanical, body, paint or high-voltage services.
Eleven examples
- Door jambs
- Hood and trunk jambs
- Door shuts and the frames behind them
- Any painted surface you can only see with a door, hood or trunk open
- Chrome delete on window surrounds and trim
- Badge and emblem blackouts on their own
- Mirror caps and grille surrounds as a standalone job
We don’t just wrap it.We document it.We prep it.We install it.We finish it.We inspect it.Then we hand it back to you.
Ready to transform your Tesla?Tesla wraps start at $7,000.
Final pricing is customized based on vehicle, material, condition, design, scope, installation requirements and other project-specific factors.